質感、ライティングが綺麗。
参考資料
POULEHOUSE

![]()
質感、ライティングが綺麗。
トラッキングポイントを使用して画像を変形するAfter Effectsプラグイン「Lockdown」、価格は$ 249.00。10月12日までの特別イントロ20%OFFの$ 199.99。 なかなか強力そうですね。Nuk […]

ブダペストのスタジオらしい。クオリティ高い。
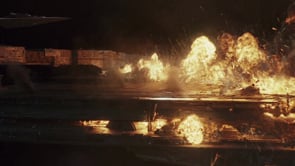
爆発と水がいっぱい。
画像を使用してスモークシミュレーションにスタイルを転送する技術だそうです。面白い。 http://www.byungsoo.me/project/neural-flow-style/index.html 概要 芸術的に流 […]

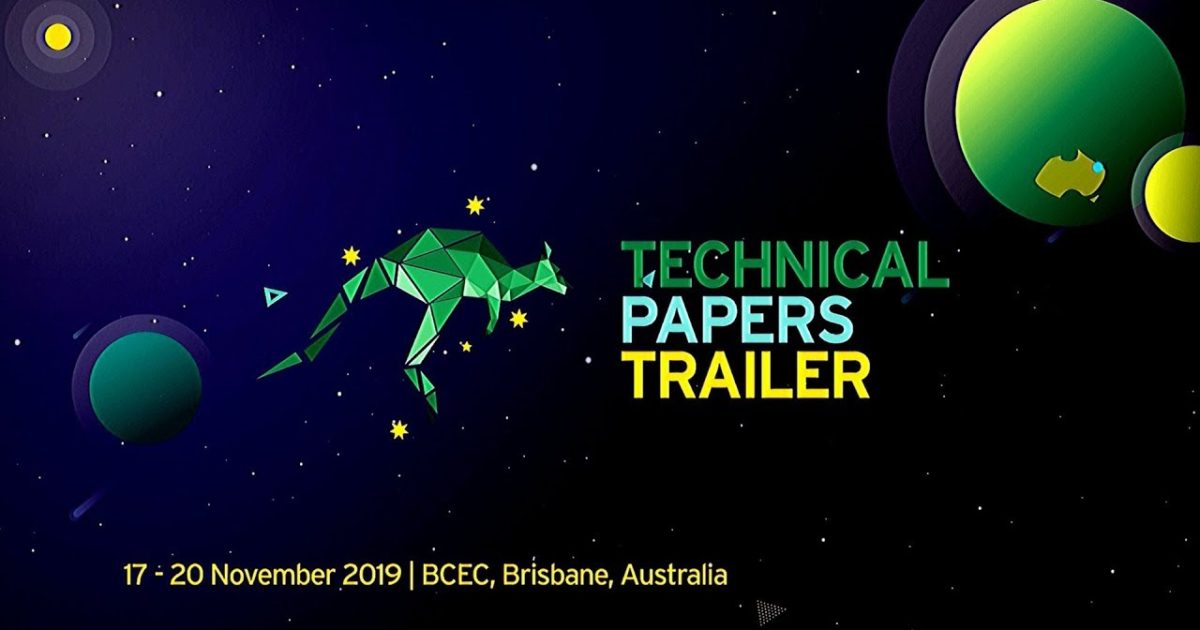
中国映画の予告編。映像が凄そう。Bottleship VFXがMax、TP、FuneFX、Houdiniの水、Vexus(Boomer Labsのノードシーンアセンブリ)を使用してVFXを行ってるらしい。
modoとC4Dで作られた短編映像です。メイキングが公開されており、modoを使用した蜂のアニメーションやUVTransformを使用した蜂の目や建物の模様のモデリングが素晴らしいです。C4Dの幾何学的なアニメーションも […]

動的破壊アニメーションの連続体損傷の重要なポイントメソッド。とのことで物体のちぎれる様子がリアルにシミュレーションできてて凄い。 https://www.seas.upenn.edu/~cffjiang/
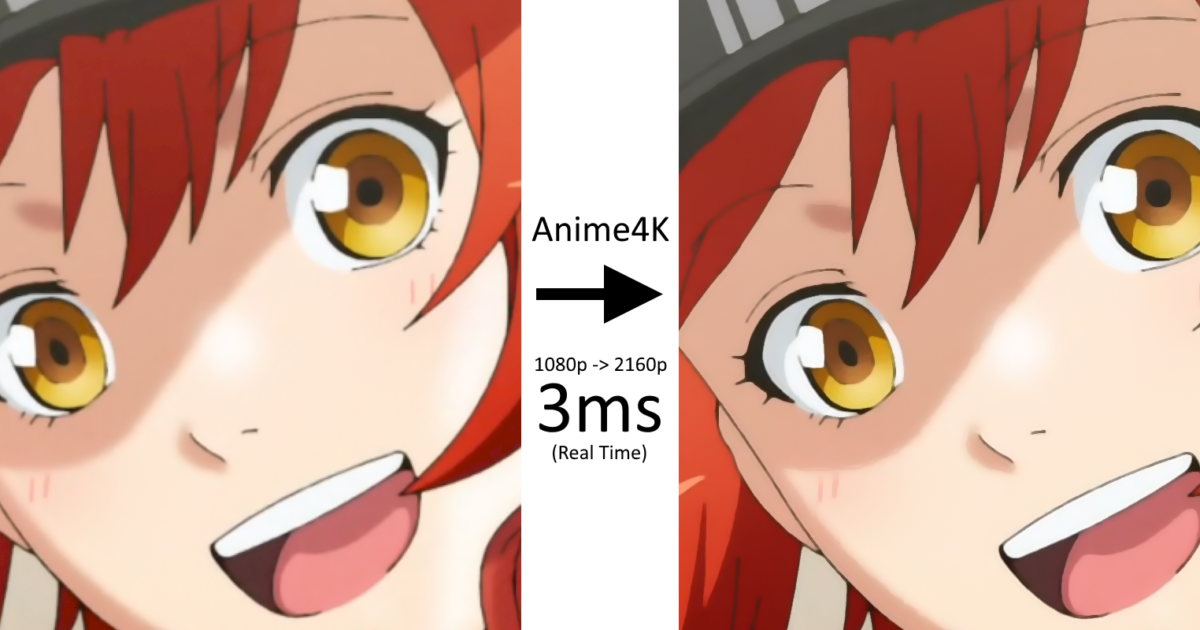
高品質のオープンソースリアルタイムアニメアップスケーラー「Anime4K」が公開されてるようです。機械学習は使用していない単純なアルゴリズムのようですが、機械学習が行ってる処理に近いかもしれない。というもののようですね。 […]
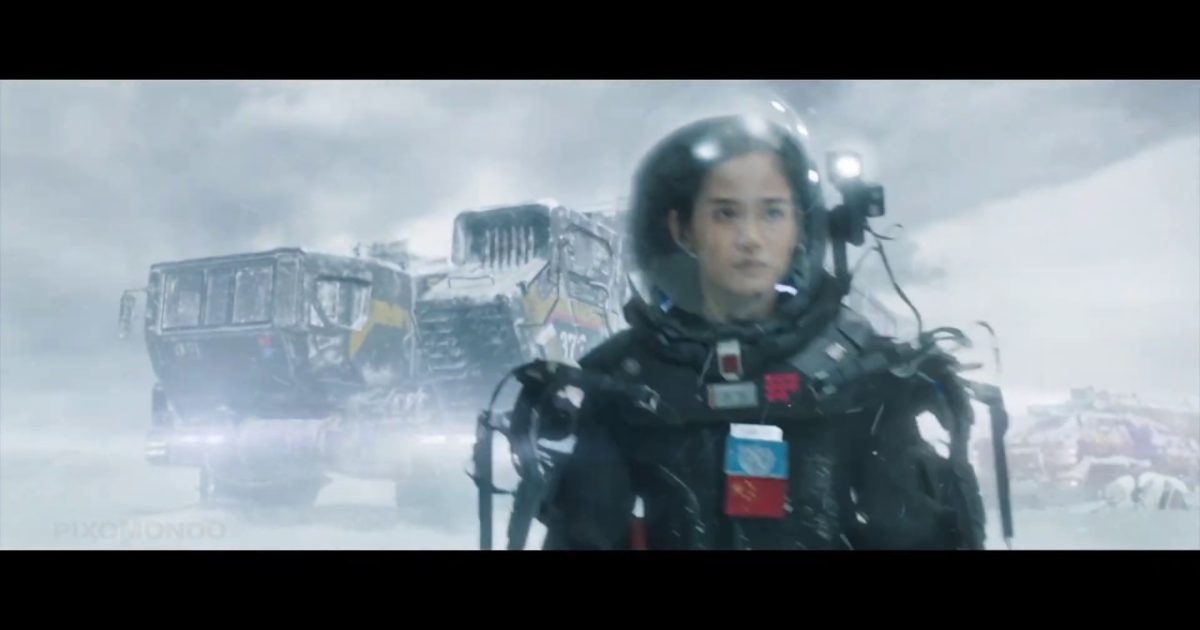
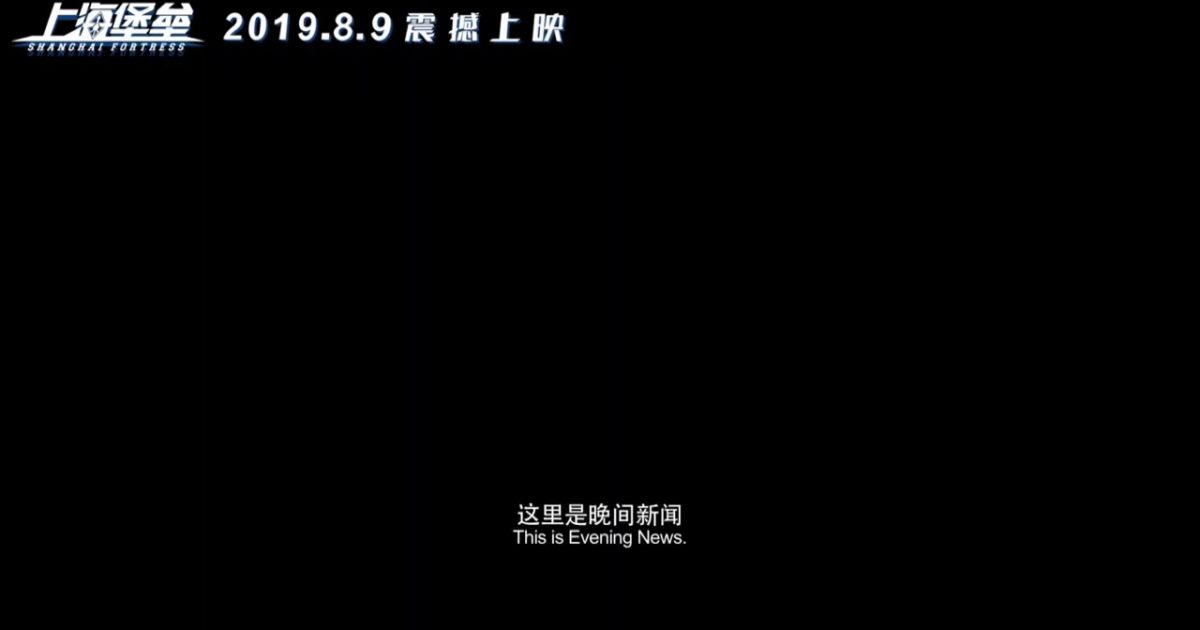
中国のSF超大作映画だそうです。


WAIFU LABSは好みの絵を数回クリックするだけで、AIがオリジナルキャラクター(嫁)を生成してるというサービスです。生成したキャラクターを枕にプリントして購入できるというのが面白いですね。日本でも購入可能です。 h […]
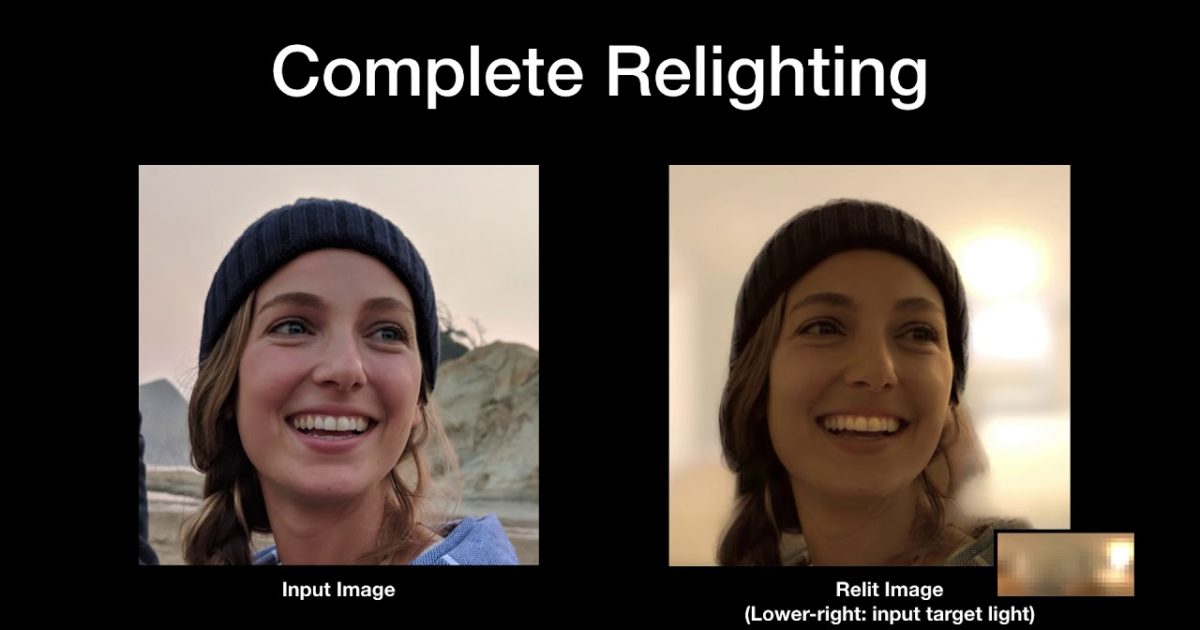
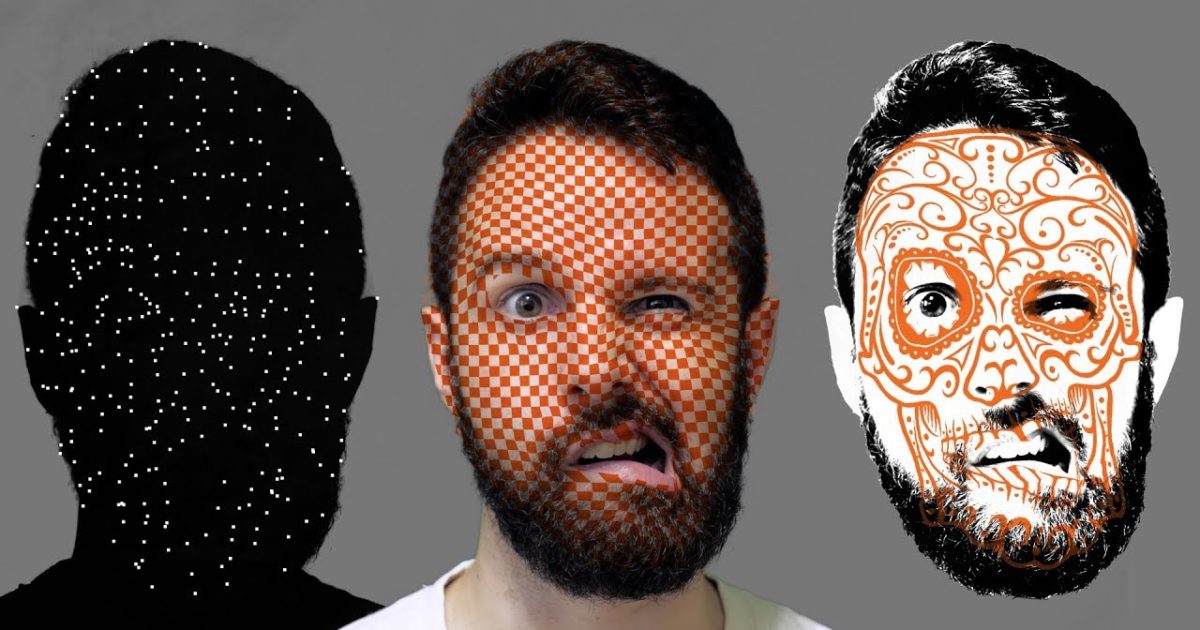
リフォルニア大学サンディエゴ校およびグーグルの研究者が、ニューラルネットワークを使用して肖像画をリライティングする論文を発表してるようです。 この手法では、1つのRGBイメージを環境マップを使用してリライティングできます […]